Elementor forms are fantastic for gathering data, but they have one massive limitation: they are static. Normally, if you want a user to type a location and see it appear on a map instantly, you are forced to buy a heavy “Dynamic Map” plugin or wrestle with a Google Cloud Console billing account to get an API key.
Elementor forms can’t update Google Maps dynamically out of the box—but here’s a lightweight way to show live directions without any API key or heavy third-party addons.
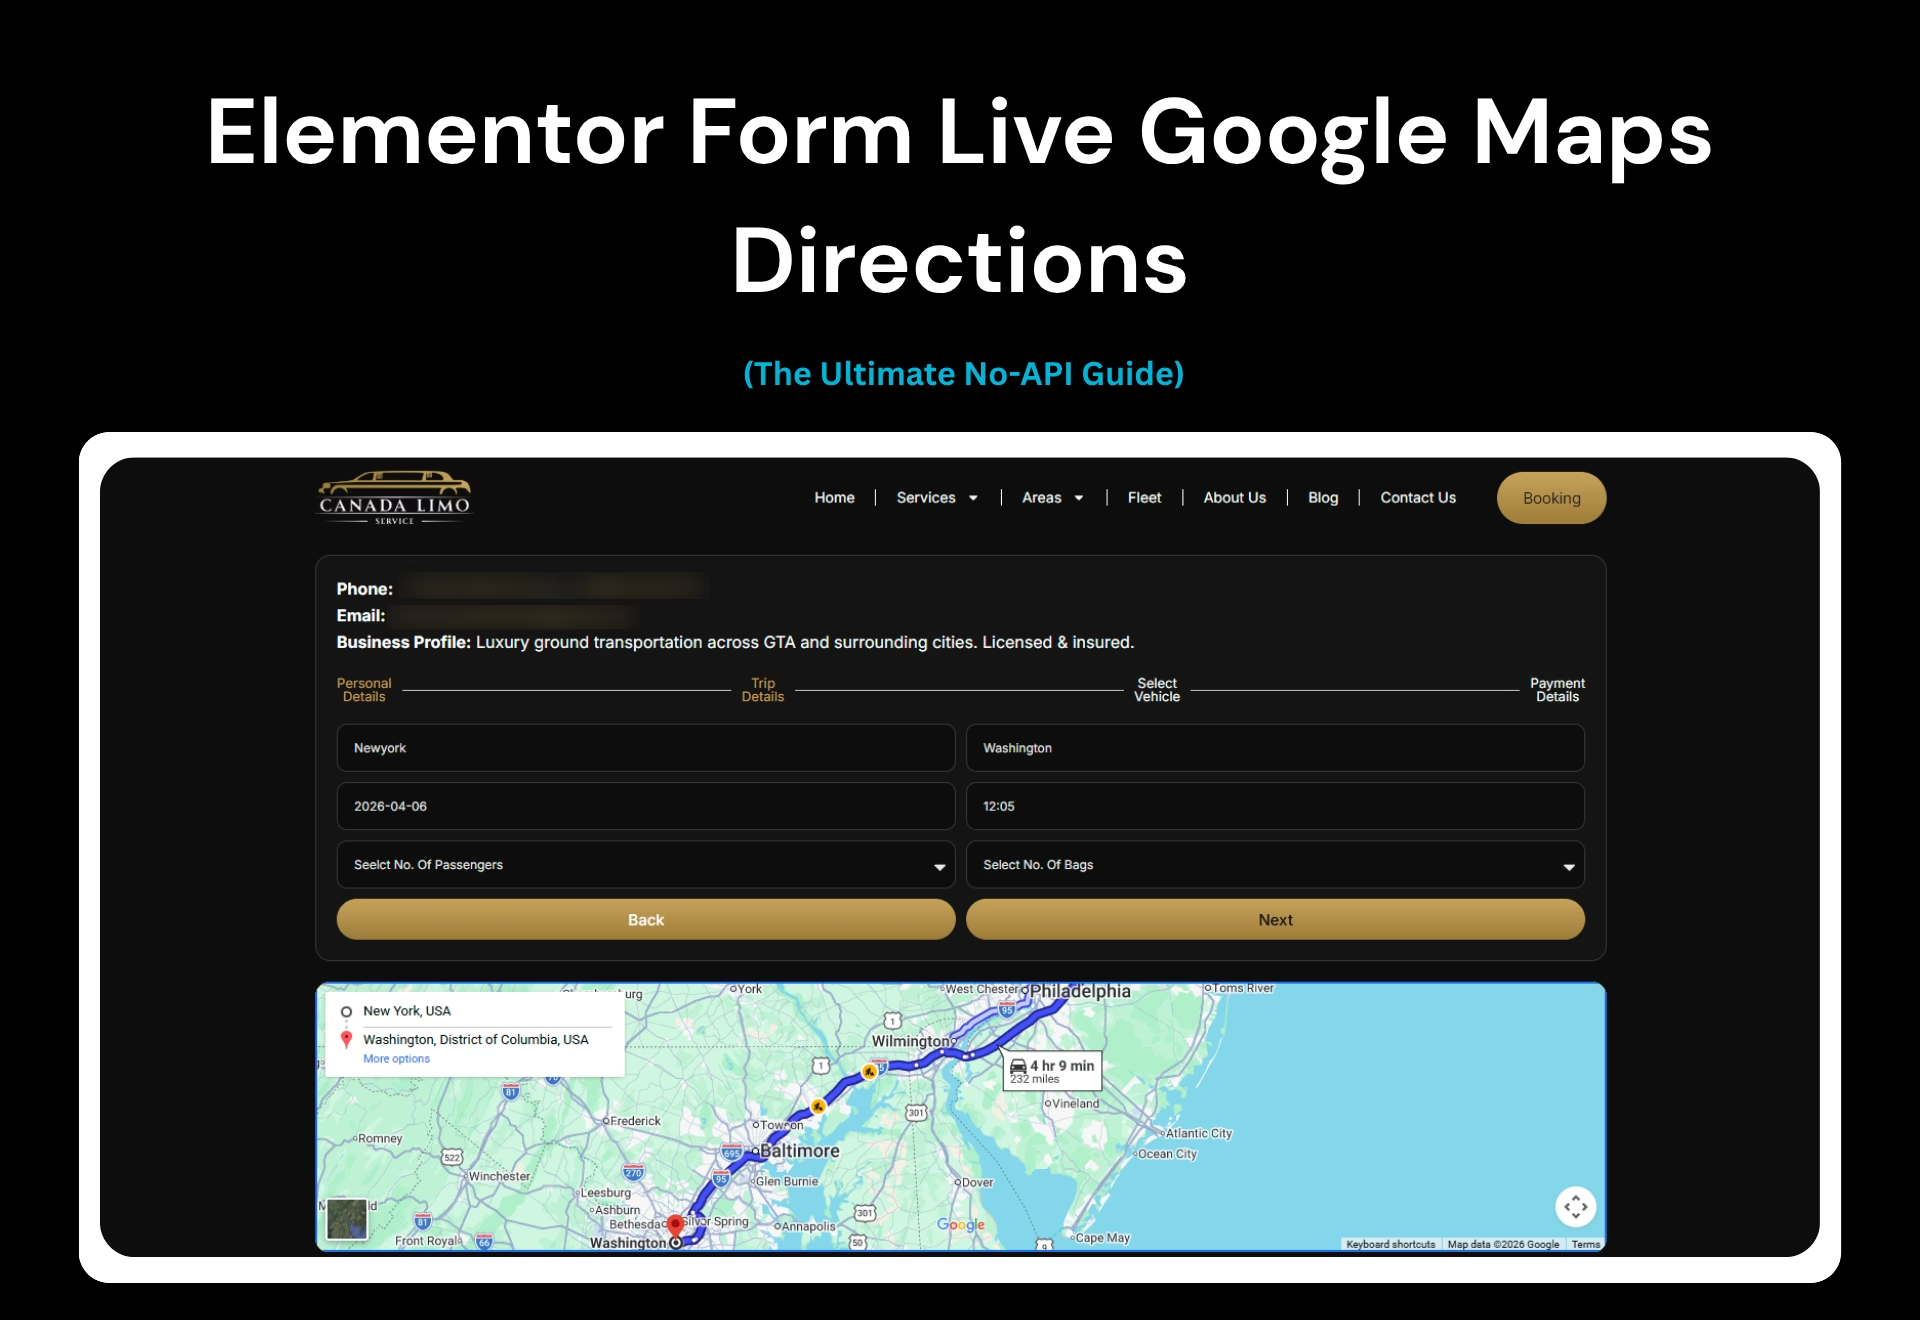
See the Magic in Action
Imagine a moving company, a taxi service, or a delivery site.
- Your user types “London” in the Pickup field.
- They type “Manchester” in the Dropoff field.
- Boom. The map right next to the form instantly draws the driving route, shows the distance, and updates in real-time.
No “Submit” button click required. No page refresh. Just a smooth, professional user experience that looks like you spent thousands on custom development.
The Problem: Why Your Map is Currently Static
The standard Elementor Google Maps widget is a “set it and forget it” tool. You type an address in the sidebar, and it stays there. Even if you use Elementor Pro’s dynamic tags, the map only updates after a page is saved or loaded.
Furthermore, most “pro” solutions for an Elementor pickup and dropoff map require you to:
- ❌ Enter a credit card for a Google Maps API Key.
- ❌ Install a 2MB plugin that slows your site to a crawl.
- ❌ Deal with complex “Dynamic Tags” that break during Elementor CSS file 404 errors.
My Solution: The “API-Less” Bridge
This method uses a clever loophole. Google allows “Embed” maps for free without an API key if you use their specific iframe URL structure. By using a tiny bit of JavaScript, we can turn your Elementor form fields into live triggers that update a dynamic Google Maps iframe from form input.
Why this is powerful:
- ✅ Zero Cost: No Google Cloud billing or API keys.
- ✅ Ultra Lightweight: Less than 2KB of code.
- ✅ Native Elementor: Uses the standard Form widget and HTML widget.
- ✅ Route Support: This isn’t just a pin on a map; it shows the full Elementor route map from user input.
How to Set It Up (Step-by-Step)
Step 1: Create the Elementor Form
Drag the Form widget onto your page. We need two specific fields:
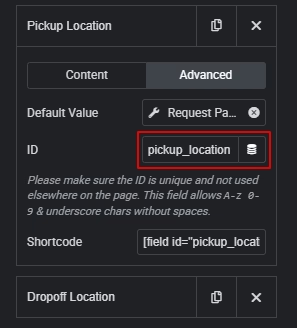
- Pickup Location: Set the Form Field ID to pickup_location.
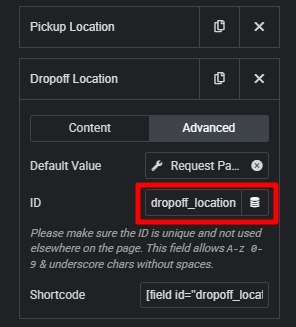
- Dropoff Location: Set the Form Field ID to dropoff_location.
(To set an ID: Click the field > Advanced > ID)
Step 2: Add the Map Placeholder
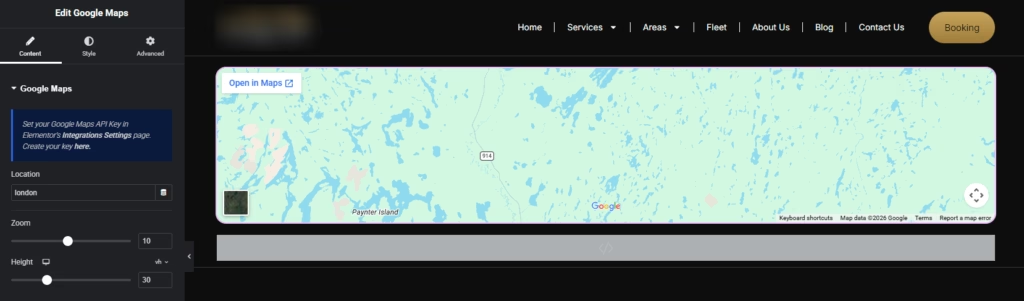
Simply use the Google Map Widget or drag an HTML Widget next to your form (or wherever you want the map to appear). Paste this single line of code:
<div class="live-map-container">
    <iframe id="live-route-map" width="100%" height="450" frameborder="0" src="https://maps.google.com/maps?q=United+States&output=embed"></iframe>
</div>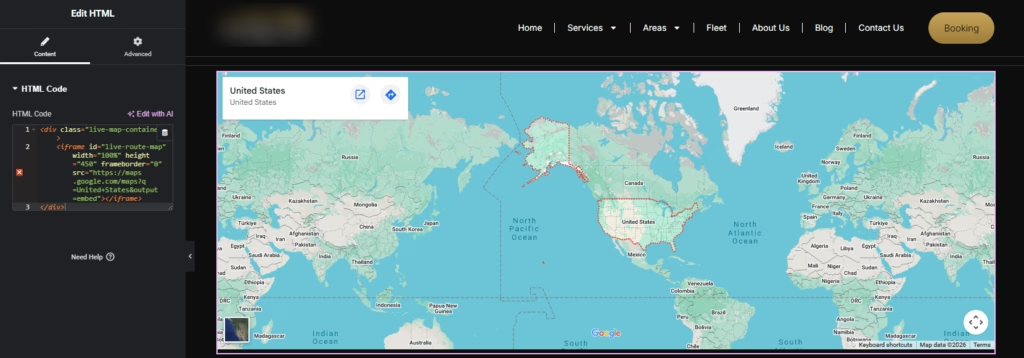
Step 3: Add the JavaScript “Bridge”
Now, add another HTML Widget (or use a Code Snippet plugin) and paste the following code. Unlike amateur scripts, this version is scoped to handle multiple forms and prevents “jitter” while the user is typing.
<script>
document.addEventListener('DOMContentLoaded', function () {
    // 1. Configuration: Match your Elementor Form Field IDs here
    const PICKUP_ID  = 'pickup_location';
    const DROPOFF_ID = 'dropoff_location';
    const MAP_IFRAME_ID = '#live-route-map';

    // 2. Find all Elementor forms on the page
    const forms = document.querySelectorAll('.elementor-form');

    forms.forEach(form => {
        const pickupEl  = form.querySelector(`[name="form_fields[${PICKUP_ID}]"]`);
        const dropoffEl = form.querySelector(`[name="form_fields[${DROPOFF_ID}]"]`);
        const iframe    = document.querySelector(MAP_IFRAME_ID);

        if (!pickupEl || !dropoffEl || !iframe) return;

        // Build the no-API Google Maps URL
        function buildMapUrl(origin, destination) {
            const base = 'https://maps.google.com/maps';

            // If both fields have values, show directions
            if (origin.length > 2 && destination.length > 2) {
                const params = new URLSearchParams({
                    saddr: origin,
                    daddr: destination,
                    dirflg: 'd', // 'd' for driving
                    output: 'embed'
                });
                return `${base}?${params.toString()}`;
            }

            // If only one field is filled, show a single marker
            const query = origin || destination || 'United States';
            const params = new URLSearchParams({
                q: query,
                t: 'm',
                z: '12',
                output: 'embed'
            });
            return `${base}?${params.toString()}`;
        }

        // Debounce function to prevent constant reloading while typing
        let timeout;
        function updateMap() {
            clearTimeout(timeout);
            timeout = setTimeout(() => {
                const origin = pickupEl.value.trim();
                const destination = dropoffEl.value.trim();
                const newUrl = buildMapUrl(origin, destination);

                if (iframe.src !== newUrl) {
                    iframe.src = newUrl;
                }
            }, 500); // Wait 500ms after user stops typing
        }

        // Listen for typing and changes
        [pickupEl, dropoffEl].forEach(el => {
            el.addEventListener('input', updateMap);
            el.addEventListener('blur', updateMap);
        });
    });
});
</script>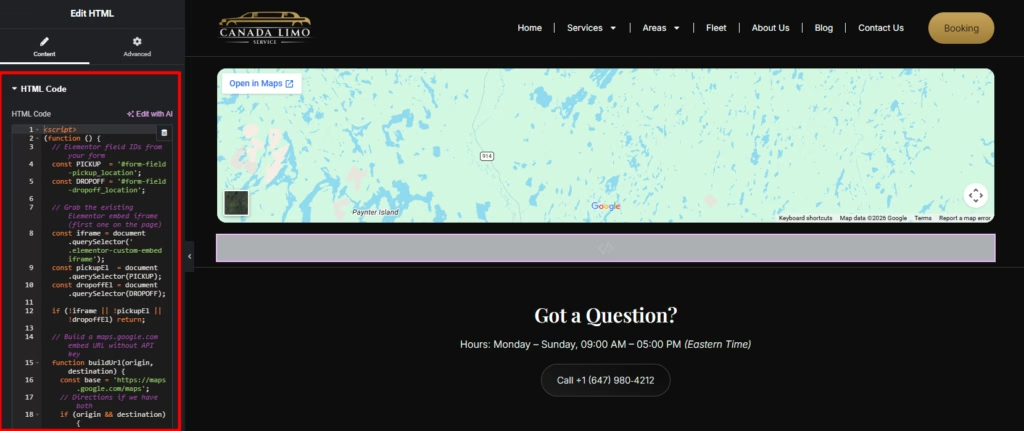
Pro Tips for Customizing Your Route Map
1. Change the Travel Mode
In the code above, look for dirflg: ‘d’.
- d = Driving
- w = Walking
- b = Bicycling
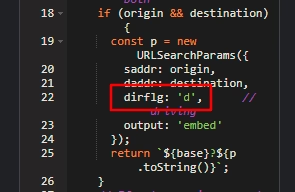
You can even create a dropdown in your Elementor form to let users choose their transport method.
2. Handling Form Errors
If you encounter a 500 error when saving your Elementor page after adding the code, it is likely a security plugin (like Wordfence) blocking the HTML script tag. Simply whitelist the action and try again.
3. Layout Tweaks
If you are moving from old sections to the new Container system, make sure your map container is set to “Full Width” to give the directions plenty of room to breathe. Check out my guide on converting sections to containers if you need help.
FAQ: Elementor Form Live Google Maps Directions
Does this require Elementor Pro?
While you can use the HTML widget in Elementor Free, the Elementor form live Google Maps directions script is designed to work with the Elementor Pro Form widget because it handles field IDs more reliably.
Is the Google Maps API really free this way?
Yes. Google provides the “Embed” feature via an iframe for free. As long as you aren’t using the advanced Javascript SDK (which allows for custom map styling and 3D rotations), you don’t need an API key.
Will this slow down my site?
No. Unlike plugins like “Essential Addons” or “Ultimate Addons” which load dozens of scripts, this uses a single native iframe and a tiny snippet of vanilla JavaScript.
What if the map doesn’t update?
Common issues include:
Field ID Mismatch: Double-check that your Form Field ID matches the PICKUP_ID in the script.
Default Kit Issues: Sometimes global styles interfere with iframe rendering. See how to fix the Elementor default kit issue.
Caching: Clear your WP Rocket or LiteSpeed cache after adding the code.
Wrapping Up
Creating a dynamic Elementor route map from user input doesn’t have to be expensive or complicated. By bridging your form fields to a simple Google Embed iframe, you provide a premium, interactive experience for your users without the overhead of heavy plugins.
Need more Elementor workflow hacks? Check out how to duplicate a page in Elementor to speed up your design process!