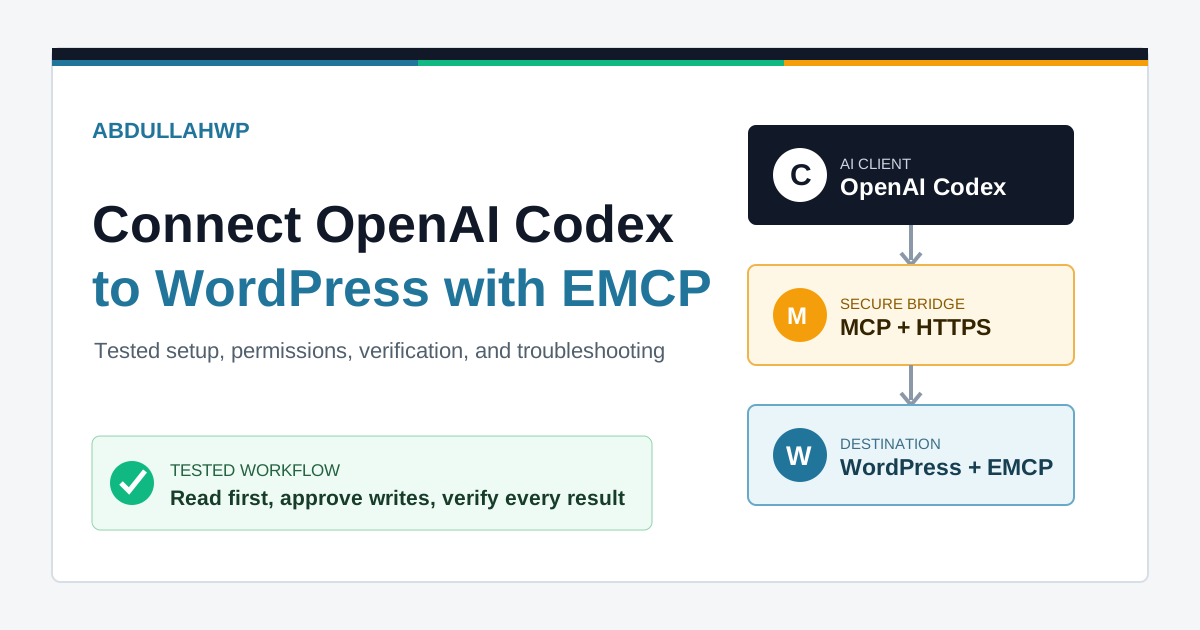
You can connect OpenAI Codex to a self-hosted WordPress website so it can inspect the real site, create drafts, update content, work with media, manage selected Elementor data, and perform other approved tasks. The useful part is not asking an AI to write text in another window. It is giving Codex controlled tools that can read and act inside WordPress.
This guide shows the exact self-hosted setup using EMCP Tools, WordPress Application Passwords, and Codex’s MCP support. It also covers permissions, a reversible first test, troubleshooting, limitations, and how to disconnect everything cleanly.
Quick answer: Install EMCP Tools, enable its MCP server, create a dedicated WordPress Application Password, add the generated Streamable HTTP connection to Codex, restart Codex, and begin with read-only prompts. Enable write tools only when you have a backup, clear scope, and a way to verify or roll back the result.
OpenAI Codex is not the old WordPress Codex
The names are easy to confuse in search results. OpenAI Codex is an AI coding agent that can use tools and MCP servers. The historical WordPress Codex was WordPress documentation. This article is about connecting the OpenAI product to a live self-hosted WordPress installation.
What MCP and EMCP do
Model Context Protocol, or MCP, gives an AI client a structured way to discover and call tools. Instead of Codex guessing how your dashboard works, an MCP server describes actions such as list posts, read a page, upload an image, create a draft, inspect plugins, or update an Elementor widget.
EMCP Tools runs that MCP server inside self-hosted WordPress. Its endpoint follows this pattern:
https://example.com/wp-json/mcp/emcp-tools-serverThe connection uses a WordPress user and a revocable Application Password. The connected agent can only do what that user and the enabled EMCP tools allow.
| Component | Job | What it does not do |
|---|---|---|
| Codex | Understands your request, chooses tools, and reports results | It does not gain WordPress access by itself |
| MCP | Defines how tools are discovered and called | It is not a WordPress permission system |
| EMCP Tools | Exposes selected WordPress and Elementor actions | It should not bypass WordPress capabilities |
| WordPress user | Sets the account-level permission boundary | An Application Password does not create a separate role |
WordPress.com and self-hosted WordPress use different connections
WordPress.com now provides its own hosted MCP server and OAuth flow. Codex can connect to it with the WordPress.com MCP URL and browser-based authorization. That method is for WordPress.com accounts and supported connected sites.
A self-hosted site normally needs a plugin or custom MCP server running on that WordPress installation. EMCP Tools provides that endpoint and uses a WordPress Application Password. Do not paste the WordPress.com OAuth instructions into a self-hosted setup and expect the same tools or permissions.
What you need before connecting
- A self-hosted WordPress site served over HTTPS.
- WordPress 6.9 or newer and PHP 8.1 or newer for the current EMCP architecture.
- The current Codex desktop app, CLI, or IDE extension with MCP support.
- Permission to install and configure a WordPress plugin.
- A recent backup or staging copy before enabling write actions.
- A dedicated WordPress user for the connection.
- Elementor only if you want Codex to perform Elementor-specific actions.
Before adding any connector to a production site, use the WordPress plugin audit checklist to review its source, update history, capabilities, authentication, and maintenance status.
Warning: An Application Password is not a harmless API key. It authenticates as the WordPress user who created it. Never put a real credential in an article, screenshot, public repository, shared prompt, or support ticket.
Step 1: Prepare a safe WordPress user
Create a separate user instead of connecting your everyday administrator account. Name it clearly, such as codex-editor or codex-maintenance, so activity is easier to identify.
- Content-only work: begin with an Editor-level account when the required EMCP tools support it.
- Elementor, plugin, settings, file, or database work: some actions require administrator capabilities. Use a dedicated administrator only for a supervised maintenance window, then revoke or reduce access.
- Client sites: never reuse one WordPress account or Application Password across multiple websites.
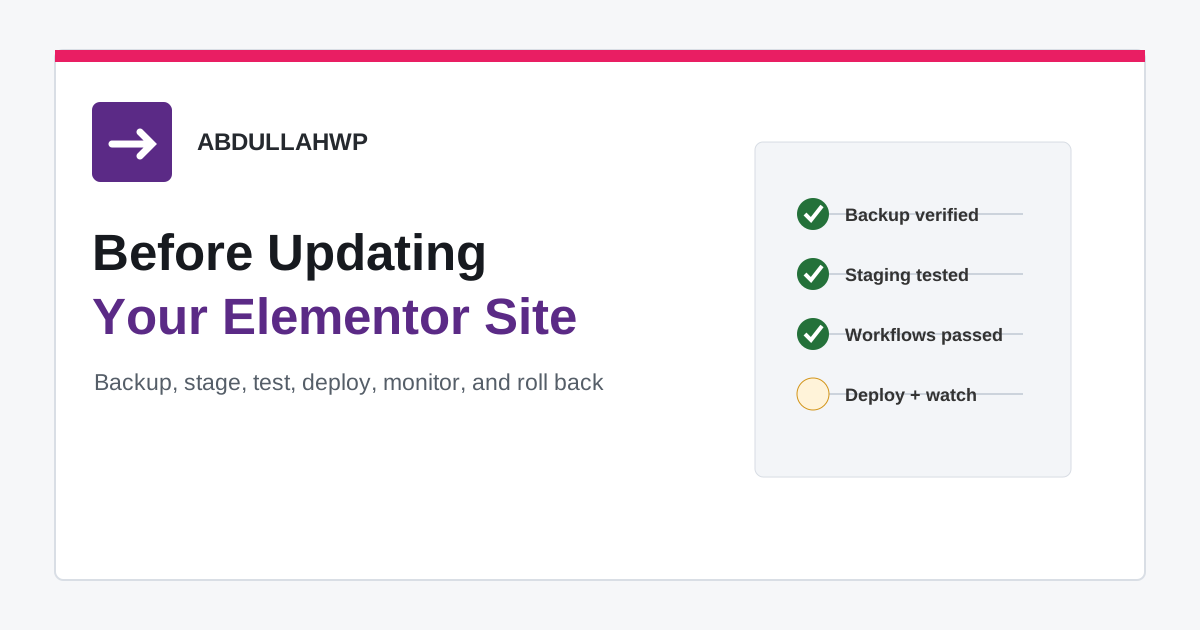
Prepare the site using the Elementor update and rollback checklist before allowing changes to layouts, plugins, or global settings.
Affiliate disclosure: This article contains an affiliate link for EMCP Tools. If you purchase through it, AbdullahWP may earn a commission at no additional cost to you.
Step 2: Install and configure EMCP Tools
- Get EMCP Tools from the official product page, then download or purchase the version that fits your workflow.
- In WordPress, open Plugins > Add New > Upload Plugin.
- Upload the ZIP, install it, and activate it.
- Open EMCP Tools > Connection.
- Enable the MCP server if it is not already enabled.
- Review the Tools screen and disable tool families you do not need.
EMCP Tools bundles the WordPress MCP Adapter used by its server, so this workflow does not require separately installing a second adapter plugin. Elementor is optional for general WordPress content, media, settings, and diagnostic tools; it is required for the Elementor tool family.
Step 3: Generate an Application Password
The Connection screen can generate a password for the selected WordPress user. You can also create one manually under Users > Profile > Application Passwords.
- Enter a descriptive label such as
Codex EMCP - Laptop. - Generate the password.
- Copy it immediately; WordPress displays it only once.
- Keep it in a password manager until the connection is configured.
WordPress Application Passwords are separate from the user’s normal login password, stored hashed, and individually revocable. They should be sent only over HTTPS.
Step 4: Add the EMCP server to Codex
The easiest route is the Codex connection option generated by EMCP Tools > Connection. Current Codex clients support Streamable HTTP MCP servers.
Using the Codex interface
- Open Codex Settings and select MCP servers.
- Choose Add server or Connect to a custom MCP.
- Set the transport to Streamable HTTP.
- Use a recognizable name, such as
emcp-example-com. - Paste your EMCP endpoint into the URL field.
- Leave the bearer-token environment field blank.
- Add a header named
Authorizationwith the value generated by EMCP:Basic BASE64_CREDENTIALS. - Save the server and restart Codex when prompted.
Using config.toml
Codex stores MCP configuration in ~/.codex/config.toml. A project can also use .codex/config.toml when the project is trusted. The direct HTTP configuration looks like this:
[mcp_servers.emcp-example-com]
url = "https://example.com/wp-json/mcp/emcp-tools-server"
http_headers = { "Authorization" = "Basic BASE64_USERNAME_AND_APP_PASSWORD" }
default_tools_approval_mode = "writes"
startup_timeout_sec = 20
tool_timeout_sec = 60
The important Codex key is http_headers. A generic example that uses headers may look plausible but will not configure the current Codex client correctly. The writes approval mode prompts before tools that are not marked read-only.
Tip: Use a project-scoped connection when only one project should reach the site. Use a global connection only when you intentionally need the WordPress tools across all Codex work.
Node proxy fallback
If direct Streamable HTTP repeatedly fails during the MCP handshake, EMCP also generates a Node proxy configuration using @msrbuilds/emcp-proxy. This starts a local STDIO server that communicates with the remote WordPress endpoint. Use the generated configuration rather than reconstructing it from memory, and remember that its environment values contain a live credential.
Step 5: Verify with read-only prompts
Do not make publishing your first test. Confirm that Codex can identify the correct site and read expected information.
Use the EMCP connection for example.com. Return the site name,
site URL, WordPress version, and PHP version. Do not make changes.
List the five most recent published posts with their titles,
IDs, slugs, and statuses. Do not update anything.Check the returned domain, post titles, and status values. If Codex chooses the wrong WordPress connection, stop and rename the servers by domain before continuing.
Step 6: Perform a reversible write test
We tested the AbdullahWP connection by creating a temporary post as a draft, reading it back through EMCP, and moving it to Trash. Nothing was published, and the result remained recoverable.
Create a WordPress post titled "EMCP Connection Test - Temporary Draft".
Keep it as a draft, close comments, and do not assign a featured image.
After creation, read it back and report its ID, title, slug, and status.
Do not publish or delete it.
Open WordPress in a separate tab and verify the draft manually. When satisfied, ask Codex to move that specific post ID to Trash, not permanently delete it.
Success: A valid connection is not merely a green server indicator. Codex should identify the correct site, return accurate live data, create a bounded draft, read the same values back, and respect the requested status.
The workflow we use for real WordPress tasks

- Ask: define the exact outcome, affected objects, and what must not change.
- Read: let Codex inspect IDs, statuses, metadata, plugin state, or Elementor structure.
- Confirm: review the proposed edits and request clarification where the target is ambiguous.
- Write: make one bounded, preferably reversible change.
- Verify: read the object back, inspect the public result, and check related SEO or layout output.
This approach is especially important with protected SEO fields. For example, Rank Math stores several values as protected post meta. A general post-update tool may reject those keys even though it can update normal content. Use a purpose-built SEO tool when available, or an audited structured database operation as an advanced fallback. Then query the stored values and inspect the live page. The Rank Math SEO for Elementor guide explains what each field should contain.
What Codex can do after connecting
- Search, create, update, schedule, categorize, and review WordPress posts.
- Upload or update media metadata and use existing Media Library assets.
- Inspect plugins, themes, WordPress settings, performance, and security reports.
- Read Elementor page structure and make supported widget or container changes.
- Create backups of certain changes and use EMCP’s change history where supported.
- Work with files or structured database rows when those higher-risk tools are explicitly enabled.
- Apply a documented editorial workflow including internal links, Rank Math fields, images, scheduling, and QA.
What it cannot safely decide for you
- Whether an unverified claim is true or legally safe to publish.
- Whether a generated article provides enough original experience to deserve rankings.
- Which destructive production change is acceptable without business context.
- Whether a visual Elementor edit looks correct without rendering and responsive checks.
- Whether a plugin, theme, or database mutation is compatible with every part of the site.
- Whether Google will index or rank a URL.
AI access makes execution faster; it does not remove editorial judgment, backups, testing, or accountability. It should also not become a pipeline for publishing generic AI text at scale.
Recommended security settings
| Control | Recommended starting point | Why |
|---|---|---|
| WordPress account | Dedicated user with the lowest workable role | Limits account-level capabilities and improves attribution |
| Transport | HTTPS only | Protects Basic Authentication credentials in transit |
| Application Password | One unique password per device/client/site | Makes revocation and investigation practical |
| EMCP tools | Read tools first; enable write families only as needed | Reduces the available action surface |
| Codex approvals | Prompt for writes | Adds a human check before mutations |
| Production changes | Backup or staging first | Provides recovery when a technically valid edit is wrong |
| Audit | Review EMCP history, WordPress revisions, and returned IDs | Creates an evidence trail |
When the project is finished, revoke its Application Password under the WordPress user profile and remove or disable the MCP server in Codex. Deleting a chat does not revoke WordPress access.
Troubleshooting Codex and EMCP connections
| Problem | Likely cause | What to check |
|---|---|---|
| Server is missing in Codex | Configuration not loaded | Confirm the correct config scope, save the file, and restart the Codex client |
| 401 or 403 response | Wrong username/password, revoked credential, or insufficient capability | Generate a new Application Password and run EMCP’s authentication test |
| 404 at the MCP endpoint | Server disabled, old route, rewrite issue, or adapter conflict | Use /wp-json/mcp/emcp-tools-server, enable MCP, save permalinks, and update EMCP |
| Authentication test says header is missing | Host, proxy, or security layer strips Authorization | Adjust server/proxy forwarding or ask the host to preserve the header |
| Direct HTTP handshake fails | Client/server transport compatibility | Use the EMCP-generated Node proxy configuration |
| Connection works but a tool is absent | Tool family disabled or dependency/capability missing | Check EMCP Tools, the WordPress user role, and whether Elementor or another plugin is required |
| Write was denied | Codex approval, EMCP gate, or WordPress capability stopped it | Read the exact error before enabling anything broader |
| Scheduled post remains in the future | Date and GMT date do not agree | Read back status plus post_date and post_date_gmt; correct with WordPress APIs or an audited structured update |
Do not respond to an authentication error by placing credentials in a URL or disabling security globally. Fix the narrow failing layer.
Useful starter prompts
Audit before acting
Inspect the connected WordPress site and list the tools you would need
for this task. Do not make changes. Identify any destructive or
irreversible step and propose a safer alternative.
Update an existing article safely
Read post ID 123 and its current SEO metadata. Propose improvements,
but preserve its slug, canonical URL, author, publish date, categories,
and existing working internal links. Wait for approval before writing.
Make an Elementor change
Read the Elementor structure for page ID 456. Locate the heading whose
text is "Example" and report its element ID and current settings.
Do not edit it until I confirm the exact target.
Publish with verification
Before publishing, verify the title, slug, status, featured image,
category, canonical URL, robots setting, and Rank Math fields.
Publish only after every check passes, then read the post back and
return the final public URL.
Is connecting Codex to WordPress worth it?
It is valuable when you manage repeated, structured WordPress work and are willing to define guardrails. Research, content updates, media metadata, internal linking, diagnostics, Elementor inspection, and publishing QA can become substantially faster because Codex works with the site’s real state.
It is a poor fit when you want unsupervised production changes, have no backup process, cannot restrict credentials, or plan to publish large volumes of unreviewed AI content. In those cases, the connection increases the speed of mistakes as readily as it increases the speed of useful work.
Sources and further reading
- OpenAI Codex: Model Context Protocol
- OpenAI: Get started with Codex
- WordPress Application Passwords
- WordPress MCP Adapter introduction
- WordPress.com MCP documentation
- EMCP Tools releases
Need help building a controlled WordPress AI workflow?
AbdullahWP can help review the connection, limit its permissions, test Elementor and publishing workflows, and build a repeatable process with backups and verification. See the WordPress and Elementor services.