Are you struggling to keep your website content fresh without constantly annoying your visitors with page reloads?
Imagine you are running a live news feed, a stock ticker, or a “Recent Orders” notification on your store. By default, Elementor is static. Once the page renders, it stays that way. This static limitation can hurt user experience in a fast-paced digital world. The solution is implementing a seamless Elementor AJAX loop update.
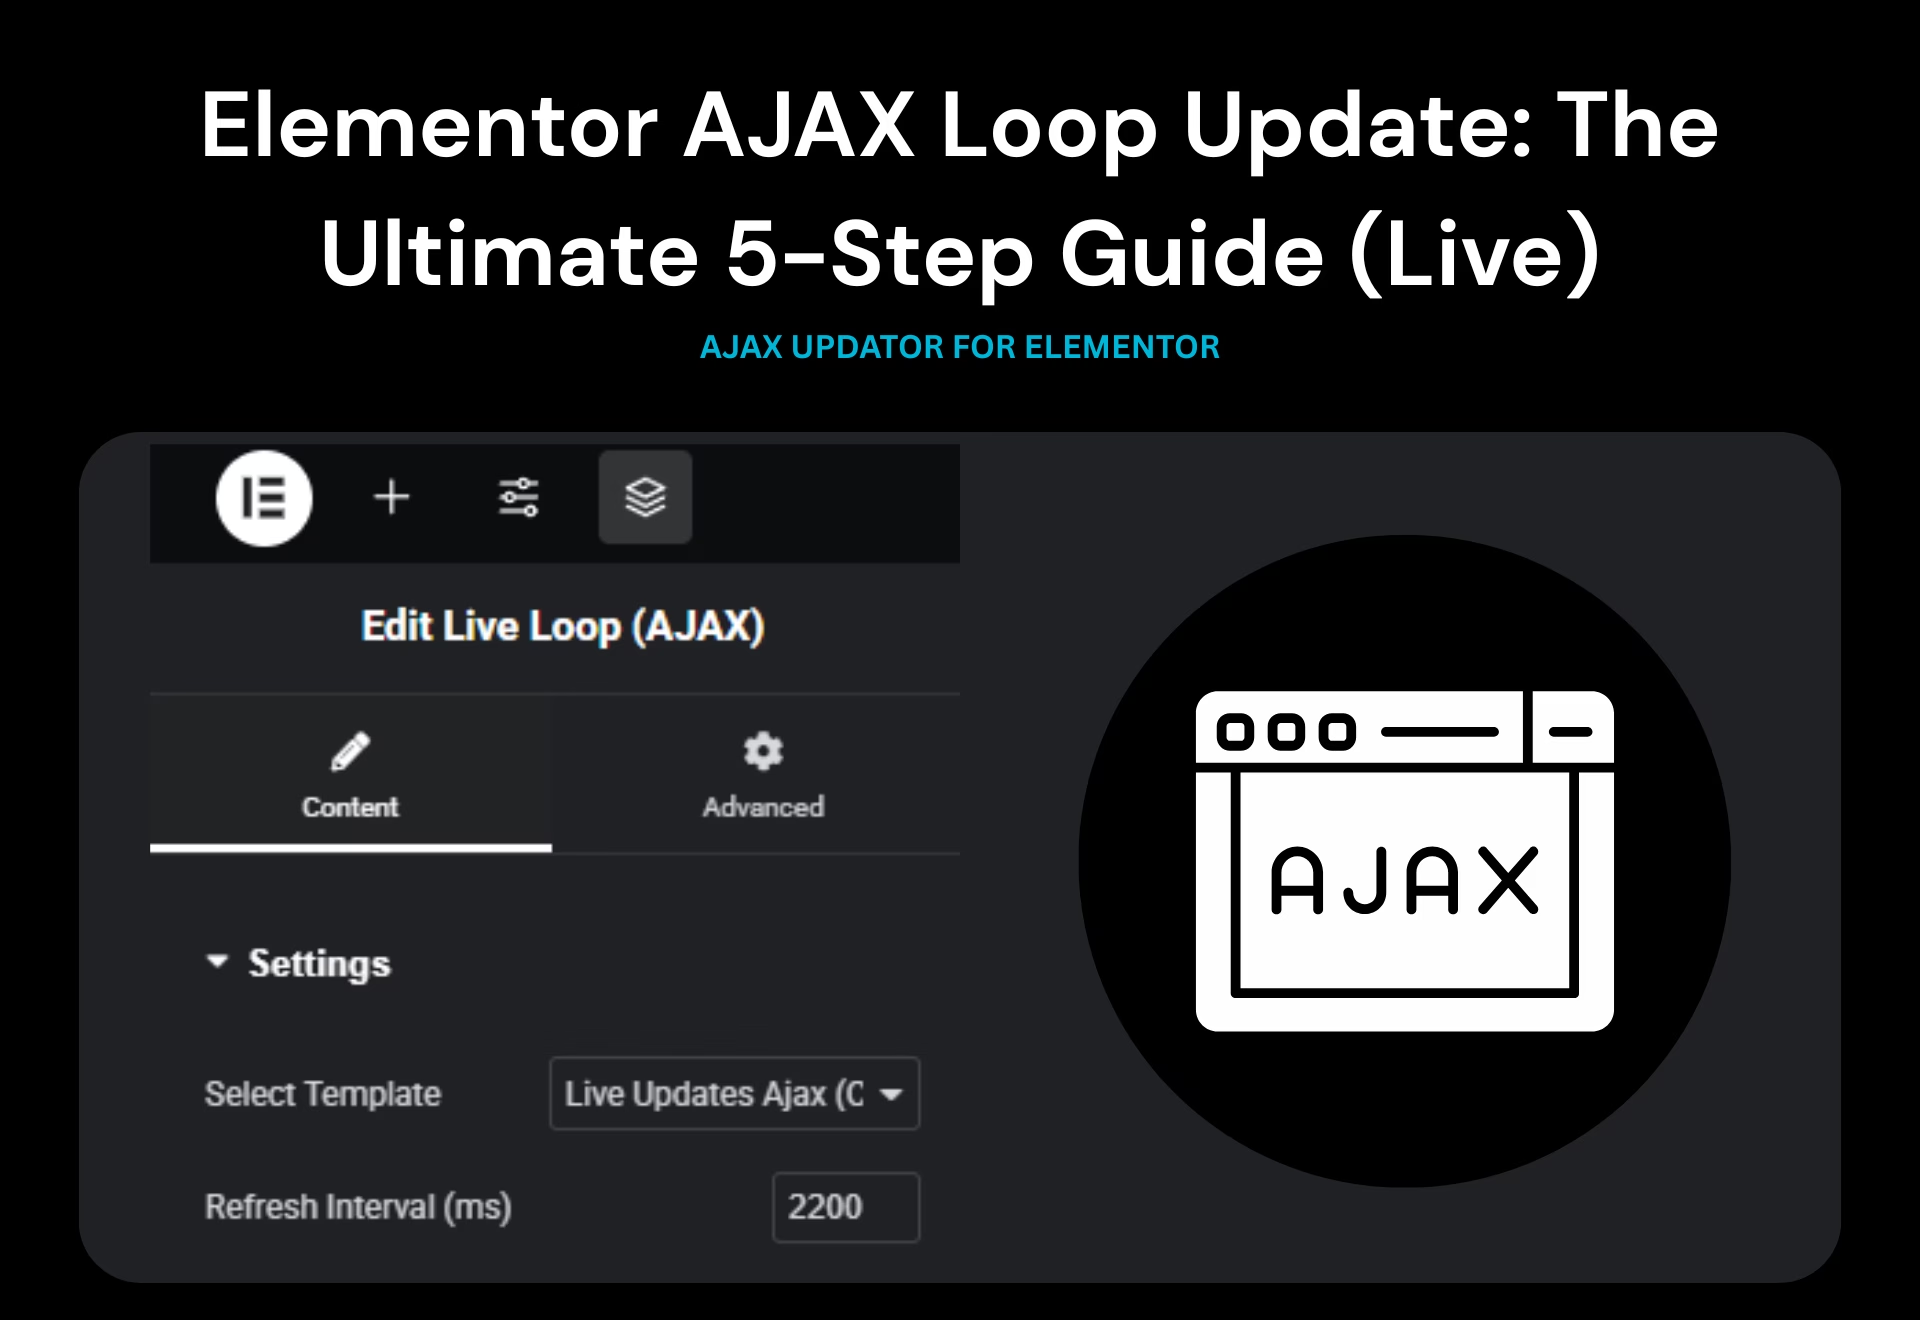
In this ultimate guide, I will share a custom plugin solution I developed. We will walk through exactly how to force any template to refresh automatically, creating a dynamic, living website.
Why an Elementor AJAX Loop Update is Essential
Elementor is the world’s most popular page builder, but it renders PHP on the server once. If you need to display real-time data, you usually hit a wall.
Performing an Elementor AJAX loop update solves three major problems:
- Boosts Engagement: Users stay glued to the screen to see what changes.
- Saves Bandwidth: Instead of reloading the whole page (CSS, JS, Header, Footer), you only reload a tiny snippet of HTML.
- Professional Polish: A smooth, flicker-free update looks incredible and high-tech.
If you want to display live data—like available booking slots or sports scores—learning how to code an Elementor AJAX loop update is the most effective skill you can add to your toolkit today.
![Image: A diagram showing a server sending data to a specific widget without reloading the page. Alt Text: Diagram demonstrating how an Elementor AJAX loop update works]
The Solution: Custom Live Loop Plugin
To achieve this, we don’t need a heavy, expensive plugin. I have written a lightweight “Live Loop” integration.
This solution lets you select any saved Elementor Template and auto-refresh it based on a timer you control. The plugin handles the complex “handshake” between your browser and the server to ensure the Elementor AJAX loop update happens securely and efficiently.
The Source Code (Copy & Paste)
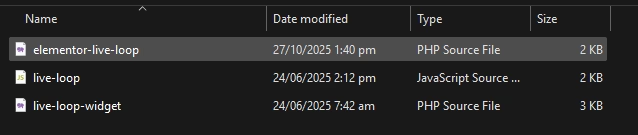
Below is the code that powers the Elementor AJAX loop update. We will break this into three files.
1. The Main Plugin File
Create a file named elementor-live-loop.php. This registers the widget and creates the server-side endpoint that renders the template.codePHP
<?php
/**
 * Plugin Name: Elementor Live Loop (AJAX Refresh)
 * Description: Adds an Elementor widget that can auto-refresh a template via AJAX with interval control.
 * Version: 1.0
 * Author: Abdullahwp
 */

if ( ! defined( 'ABSPATH' ) ) exit;

add_action( 'elementor/widgets/register', function( $widgets_manager ) {
    require_once __DIR__ . '/live-loop-widget.php';
    $widgets_manager->register( new \Live_Loop_Widget() );
});

add_action( 'wp_enqueue_scripts', function() {
    wp_enqueue_script( 'live-loop-ajax', plugin_dir_url( __FILE__ ) . 'live-loop.js', [ 'jquery' ], '1.0', true );
});

// This is the engine behind the Elementor AJAX loop update
add_action( 'wp_ajax_render_full_template', 'live_loop_render_template' );
add_action( 'wp_ajax_nopriv_render_full_template', 'live_loop_render_template' );

function live_loop_render_template() {
    $template_id = intval( $_POST['templateId'] ?? 0 );
    if ( ! $template_id ) {
        wp_send_json_error( 'Missing Template ID' );
    }

    $html = \Elementor\Plugin::$instance->frontend->get_builder_content_for_display( $template_id, true );
    if ( ! $html ) {
        wp_send_json_error( 'Template render failed' );
    }

    wp_send_json_success( $html );
}
2. The Widget File
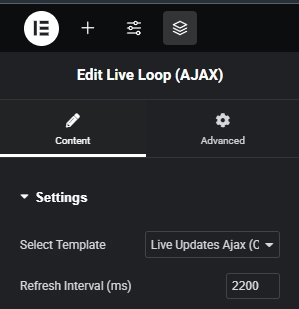
Create a file named live-loop-widget.php. This creates the visual controls in the Elementor editor, allowing you to choose which template gets the Elementor AJAX loop update.codePHP
<?php

class Live_Loop_Widget extends \Elementor\Widget_Base {

    public function get_name() { return 'live_loop_widget'; }
    public function get_title() { return __( 'Live Loop (AJAX)', 'textdomain' ); }
    public function get_icon() { return 'eicon-refresh'; }
    public function get_categories() { return [ 'general' ]; }

    protected function _register_controls() {
        $this->start_controls_section( 'content_section', [ 'label' => __( 'Settings', 'textdomain' ) ]);

        $this->add_control( 'template_id', [
            'label' => __( 'Select Template', 'textdomain' ),
            'type' => \Elementor\Controls_Manager::SELECT,
            'options' => $this->get_templates_list(),
            'default' => '',
        ]);

        $this->add_control( 'refresh_interval', [
            'label' => __( 'Refresh Interval (ms)', 'textdomain' ),
            'type' => \Elementor\Controls_Manager::NUMBER,
            'default' => 30000,
            'min' => 5000,
            'step' => 1000,
        ]);

        $this->end_controls_section();
    }

    protected function render() {
        $settings = $this->get_settings_for_display();
        $template_id = $settings['template_id'];
        $interval = $settings['refresh_interval'];

        if ( ! $template_id ) {
            echo '<div class="live-loop-error">Template not selected.</div>';
            return;
        }

        echo "<div class='live-loop-wrapper' data-template='{$template_id}' data-interval='{$interval}'>";
        echo \Elementor\Plugin::$instance->frontend->get_builder_content_for_display( $template_id, true );
        echo "</div>";
    }

    private function get_templates_list() {
        $templates = get_posts([ 'post_type' => 'elementor_library', 'posts_per_page' => -1 ]);
        $options = [];
        foreach ( $templates as $template ) {
            $options[ $template->ID ] = $template->post_title;
        }
        return $options;
    }
}
3. The JavaScript File
Create live-loop.js. This is where the magic happens. It uses setInterval to trigger the Elementor AJAX loop update repeatedly.codeJavaScript
jQuery(window).on('elementor/frontend/init', () => {

    elementorFrontend.hooks.addAction('frontend/element_ready/live_loop_widget.default', (scope) => {

        const wrapper = jQuery(scope).find('.live-loop-wrapper')[0];
        if (!wrapper || wrapper.hasAttribute('data-live-init')) return;

        const templateId = wrapper.getAttribute('data-template');
        const interval = parseInt(wrapper.getAttribute('data-interval')) || 30000;

        if (!templateId) return;

        // Mark as initialized to prevent double loading
        wrapper.setAttribute('data-live-init', 'true');

        setInterval(() => {
            const params = new URLSearchParams();
            params.append('action', 'render_full_template');
            params.append('templateId', templateId);

            fetch('/wp-admin/admin-ajax.php', {
                method: 'POST',
                body: params
            })
            .then(res => res.json())
            .then(response => {
                if (response.success) {
                    wrapper.innerHTML = response.data;
                    // Important: Re-initialize Elementor JS hooks after the AJAX loop update
                    if (window.elementorFrontend && elementorFrontend.hooks) {
                        elementorFrontend.hooks.doAction('frontend/element_ready/global', jQuery(wrapper));
                    }
                }
            })
            .catch(err => console.error('Live Loop Fetch Error:', err));
        }, interval);
    });
});
Step-by-Step Implementation Guide
Ready to get started? Follow this effortless process to enable your Elementor AJAX loop update.
1. Install the Code
Navigate to your WordPress installation via FTP. Go to wp-content/plugins/ and create a folder named elementor-live-loop. Create the three files listed above inside this folder.
2. Activate the Plugin
Go to your WP Dashboard > Plugins. Find “Elementor Live Loop” and click Activate.

3. Design Your Template
Go to Templates > Add New. Design the section you want to refresh. For a true Elementor AJAX loop update, try dropping in a “Posts” widget or a Loop Grid. Save this template.
4. Add the Widget
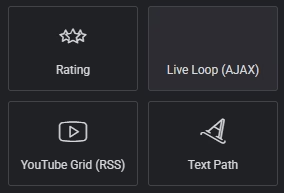
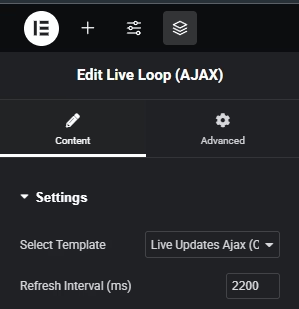
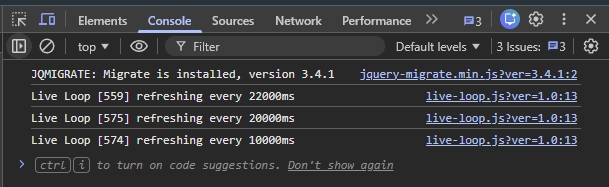
Open your page in Elementor. Search for “Live Loop (AJAX)”. Drag it in. Select your template from the dropdown and set your timer (e.g., 10000 for 10 seconds).
Best Use Cases for Live Updates
Now that you know how to perform an Elementor AJAX loop update, here are some powerful ways to use it:
- Breaking News Ticker: Create a Loop Template that fetches the latest post in the “News” category. Set it to refresh every 60 seconds.
- Social Proof: Display “Recent Purchases” using a WooCommerce query. The Elementor AJAX loop update will constantly show new sales, building trust.
- Live Event Status: If you are running a conference, update the schedule status (e.g., “Lunch Break”, “Next Speaker”) in the backend, and let the frontend update automatically.
- Donation Counters: For charity sites, show the total funds raised increasing in real-time.
Performance Tips for AJAX Loops
An Elementor AJAX loop update is powerful, but it requires server resources. To keep your site fast:
- Don’t Overdo the Interval: A 1-second interval (1000ms) might crash a shared server. Stick to 15-30 seconds.
- Simple Templates: Don’t put heavy sliders or massive images inside the AJAX loop. Keep the content lightweight.
- Database Optimization: Since these loops query the database frequently, ensure your database is clean. Check our guide on [Internal Link: optimizing your WordPress database] for more tips.
Conclusion
You have successfully unlocked a new level of interactivity for your website. By using this custom plugin, the Elementor AJAX loop update becomes an effortless, automated process.
This technique bridges the gap between static WordPress pages and dynamic application-like experiences. Whether you are a developer or a site owner, this tool is indispensable.
For more technical details on how Elementor handles rendering, visit the Elementor Developers Documentation.
Skip the Code: Download the Ready-to-Install Plugin
Don’t want to mess around with FTP or creating PHP files manually? I’ve done the hard work for you!
Get the complete Elementor Live Loop plugin as a ready-to-use .zip file. Simply upload it to your WordPress dashboard, activate it, and start running your Elementor AJAX loop update in seconds.
Subscribe to our newsletter below to get the instant download link delivered straight to your inbox:
Join 5,000+ Elementor creators receiving pro tips, code snippets, and exclusive tools every week.
If you are customizing Elementor layouts at a deeper level, you may also find this helpful: Elementor Default Kit Issue: 3 Easy Ways to Restore Global Styles Fast, where I explain how to fix broken global styles and kit conflicts that often affect templates and dynamic content. And if you need hands-on help with Elementor AJAX loops, live template updates, or any WordPress customization, feel free to Contact me, I will be happy to help.