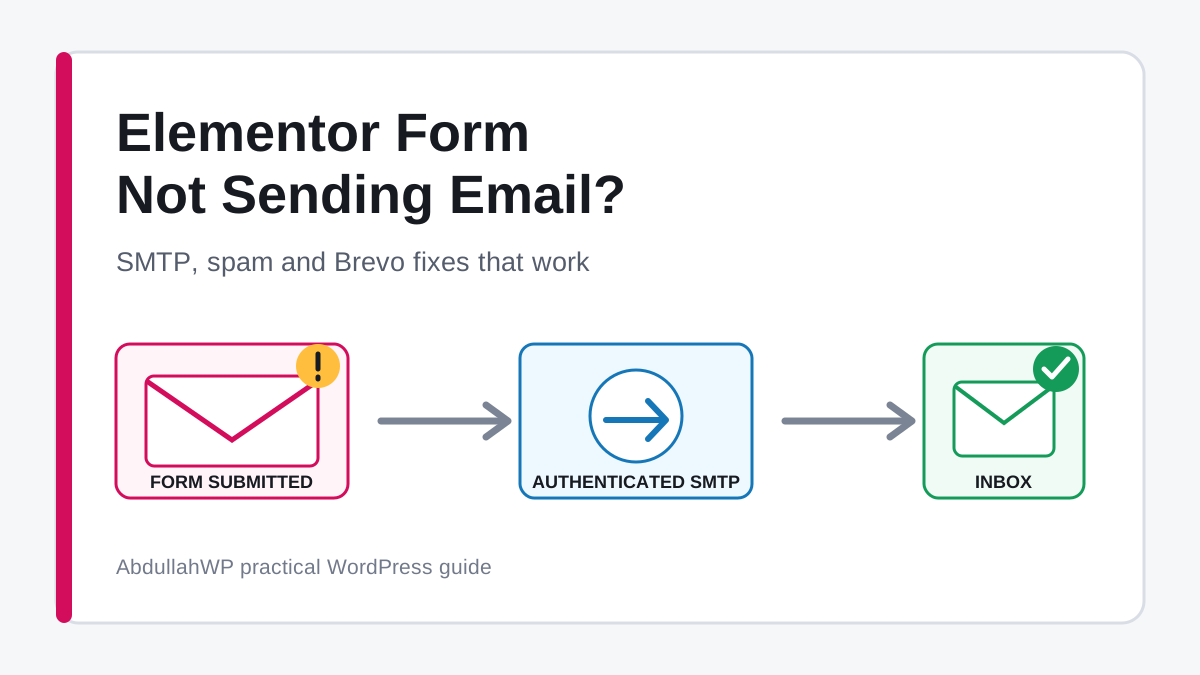
When an Elementor form shows a green success message but no email arrives, the form and the email are usually failing at different stages. The submission may have been accepted by Elementor while WordPress, the mail server, or the recipient’s spam filter stops the notification later.
This guide shows how to diagnose an Elementor form not sending email without guessing. Start by protecting submissions, then verify the form action, fix the sender headers, connect one mail service, authenticate the domain, and inspect the right logs.
Note: A successful form message does not prove that an email reached the inbox. WordPress documents that a successful wp_mail() result only means the send request was processed without an immediate error, not that the recipient received it.
Quick diagnosis: find the failing stage first
| What you see | Most likely problem | Check first |
|---|---|---|
| Success message, submission saved, no email | Email transport, sender authentication, or recipient filtering | SMTP log, From address, spam and quarantine |
| Success message, no saved submission | Collect Submissions is disabled or the form uses another action only | Actions After Submit |
| Red server error | WordPress, PHP, hosting, integration, or mail connection error | Elementor submissions and server logs |
| “Form invalid” message | Duplicate field IDs, empty IDs, invalid mapping, or an integration failure | Every field’s Advanced tab and action mapping |
| Admin email arrives, confirmation does not | Email 2 configuration, recipient shortcode, or stricter filtering | Email 2 To field and mail log |
| Some providers receive it, Gmail or Outlook does not | Authentication, reputation, or filtering | DKIM, DMARC, provider event log, recipient quarantine |
Do not install another plugin yet. Submit the form once with a unique subject such as Elementor test 14:35, record the test address, and note whether Elementor saved the entry. That gives you one message to trace from form to inbox.
1. Protect leads before troubleshooting email
Edit the page in Elementor, select the Form widget, and open Actions After Submit. Add Collect Submissions if it is available on your setup. Elementor can then store a copy under Elementor > Submissions, even when the notification email has a problem.
This is more than a backup. It separates lead capture from notification delivery:
- If a new row appears in Submissions, the visitor data reached WordPress.
- If no row appears, troubleshoot validation, security, JavaScript, or the submit action before SMTP.
- If the row exists but the email is absent, focus on the Email action and outgoing mail path.
Elementor’s official submissions guide explains how the storage action works. For important sales forms, also send leads to a second system. AbdullahWP’s free Brevo for Elementor Forms plugin can add contacts to selected Brevo lists, but that contact sync is separate from WordPress notification email.
2. Check the Elementor Email action
In Actions After Submit, make sure Email is present. Then open the Email panel and verify every setting instead of assuming the defaults are correct.
- To: Use a real mailbox you can access. Test a second provider too.
- Subject: Use a clear subject and include a unique test label while diagnosing.
- Message: Start with
[all-fields]. Replace it with individual field shortcodes only after delivery works. - From Email: Use an address on the website’s domain, such as
forms@example.com. - From Name: Use the website or company name, not a visitor-controlled value.
- Reply-To: Select the visitor’s email field here.
- Send As: HTML is suitable for most notifications; Plain is useful for a minimal diagnostic test.
Verify field IDs and shortcodes
Each form field has an ID under its Advanced tab. IDs must be unique and should use simple values such as name, email, and message. Elementor builds a shortcode from that ID:
[field id="email"]Do not type a shortcode copied from a different form unless the field ID matches exactly. Duplicate or empty IDs can also produce a “Form invalid” error. Temporarily using [all-fields] is the fastest way to determine whether a custom shortcode is the problem. Elementor documents the relevant options in its Form widget email settings.
3. Fix From Email and Reply-To
The most common configuration mistake is placing the visitor’s Gmail, Outlook, or Yahoo address in From Email. Your WordPress site is not authorized to send as that visitor. A receiving server may see the mismatch as spoofing and reject or filter the message.
| Setting | Wrong | Correct |
|---|---|---|
| From Email | [field id="email"] | forms@yourdomain.com |
| From Name | A visitor-controlled field | Your website or business name |
| Reply-To | Blank or your own sender | [field id="email"] |
Tip: Send from your authenticated domain and reply to the visitor. This keeps the sender identity consistent while the Reply-To header still makes the Reply button address the lead.
The domain mailbox does not always need to be monitored, but it must be an allowed sender in your mail service. If your provider requires sender verification, verify that exact address or its domain before testing again.
4. Use one WordPress mailer, not several
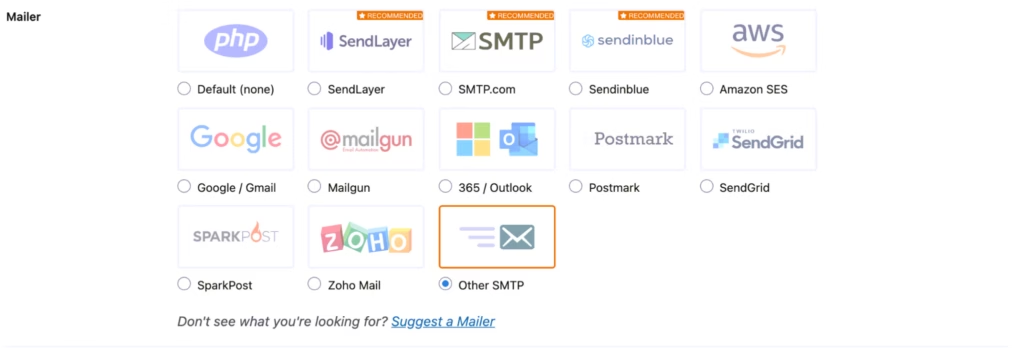
Elementor passes its message to WordPress, normally through wp_mail(). On many hosts, default PHP mail lacks reliable authentication, logging, or a clear delivery trail. A transactional email service or SMTP plugin gives WordPress an authenticated route and provides evidence when something fails.
Warning: Activate only one plugin that replaces WordPress mail delivery. Two SMTP or mailer plugins can compete for the same wp_mail() call and make errors harder to trace.





| Option | Good fit when | Useful diagnostic feature |
|---|---|---|
| Brevo official plugin | You already use Brevo and want WordPress transactional mail routed through it | Brevo transactional event history |
| WP Mail SMTP | You want a guided setup and a broad selection of mailers | Test email and mailer errors; logging depends on plan/features |
| FluentSMTP | You want a free, open-source mailer with multiple provider connections | Optional email logs, resend, and failure notifications |
| Post SMTP | You value setup assistance, logs, and failure alerts | Email log and connection diagnostics; some features are paid |
| Elementor Site Mailer | You prefer a managed transactional email service integrated with Elementor | Built-in email logs, test email, and domain setup |
The logos above are the official plugin assets from the WordPress.org directory. Choose the smallest tool that provides the route and logs you need. Changing plugins will not repair a wrong From address or missing Email action.
5. Configure Brevo SMTP correctly
Brevo is a practical option for WordPress transactional email because it provides an authenticated relay, sender/domain verification, and an event log. You can use the official Brevo WordPress plugin or connect Brevo through a compatible SMTP plugin.
Option A: use the official Brevo WordPress plugin
- Create or sign in to your Brevo account.
- Install the official Brevo plugin from the WordPress plugin directory. Confirm the plugin name and publisher before activating it.
- Connect the plugin to your Brevo account as its setup screen requests.
- Enable the option that sends WordPress transactional emails through Brevo.
- Set a sender on your own verified domain.
- Send a test email, then submit the actual Elementor form. A plugin test alone does not verify the form’s To, From, Reply-To, or shortcodes.
Brevo’s official WordPress plugin guide confirms that the plugin can route WordPress transactional messages, including contact form notifications, through Brevo.
Option B: connect Brevo as an SMTP provider
In your chosen SMTP plugin, use the current credentials shown in your Brevo SMTP settings. Brevo’s documented relay details are:
| SMTP server | smtp-relay.brevo.com |
|---|---|
| Username | Your Brevo SMTP login |
| Password | A Brevo SMTP key |
| Common ports | 587, 465, or 2525 |
| From Email | An address allowed by your verified Brevo sender/domain |
Warning: A Brevo API key and a Brevo SMTP key are not interchangeable. For a generic SMTP connection, use the SMTP login and SMTP key shown in Brevo, not an API v3 key.
Use the encryption and port combination recommended by the plugin and allowed by your host. If one valid port times out, ask the host whether outbound SMTP connections are restricted before cycling through random settings. See Brevo’s official SMTP configuration guide for the current connection details.
6. Authenticate the sending domain
SMTP authentication lets WordPress log in to the sending service. Domain authentication lets receiving servers verify that the service is authorized to send for your domain. You need both parts configured correctly.
- DKIM adds a cryptographic signature that receiving servers can validate.
- DMARC publishes a policy and reporting address for mail that fails alignment checks.
- Brevo code is Brevo’s domain ownership verification record.
- SPF authorizes sending infrastructure, but do not add a second SPF record or copy a generic value. Follow the exact requirements of your current mail service. Brevo’s regular shared-domain authentication flow focuses on its Brevo code, DKIM, and DMARC; dedicated-IP setups can differ.
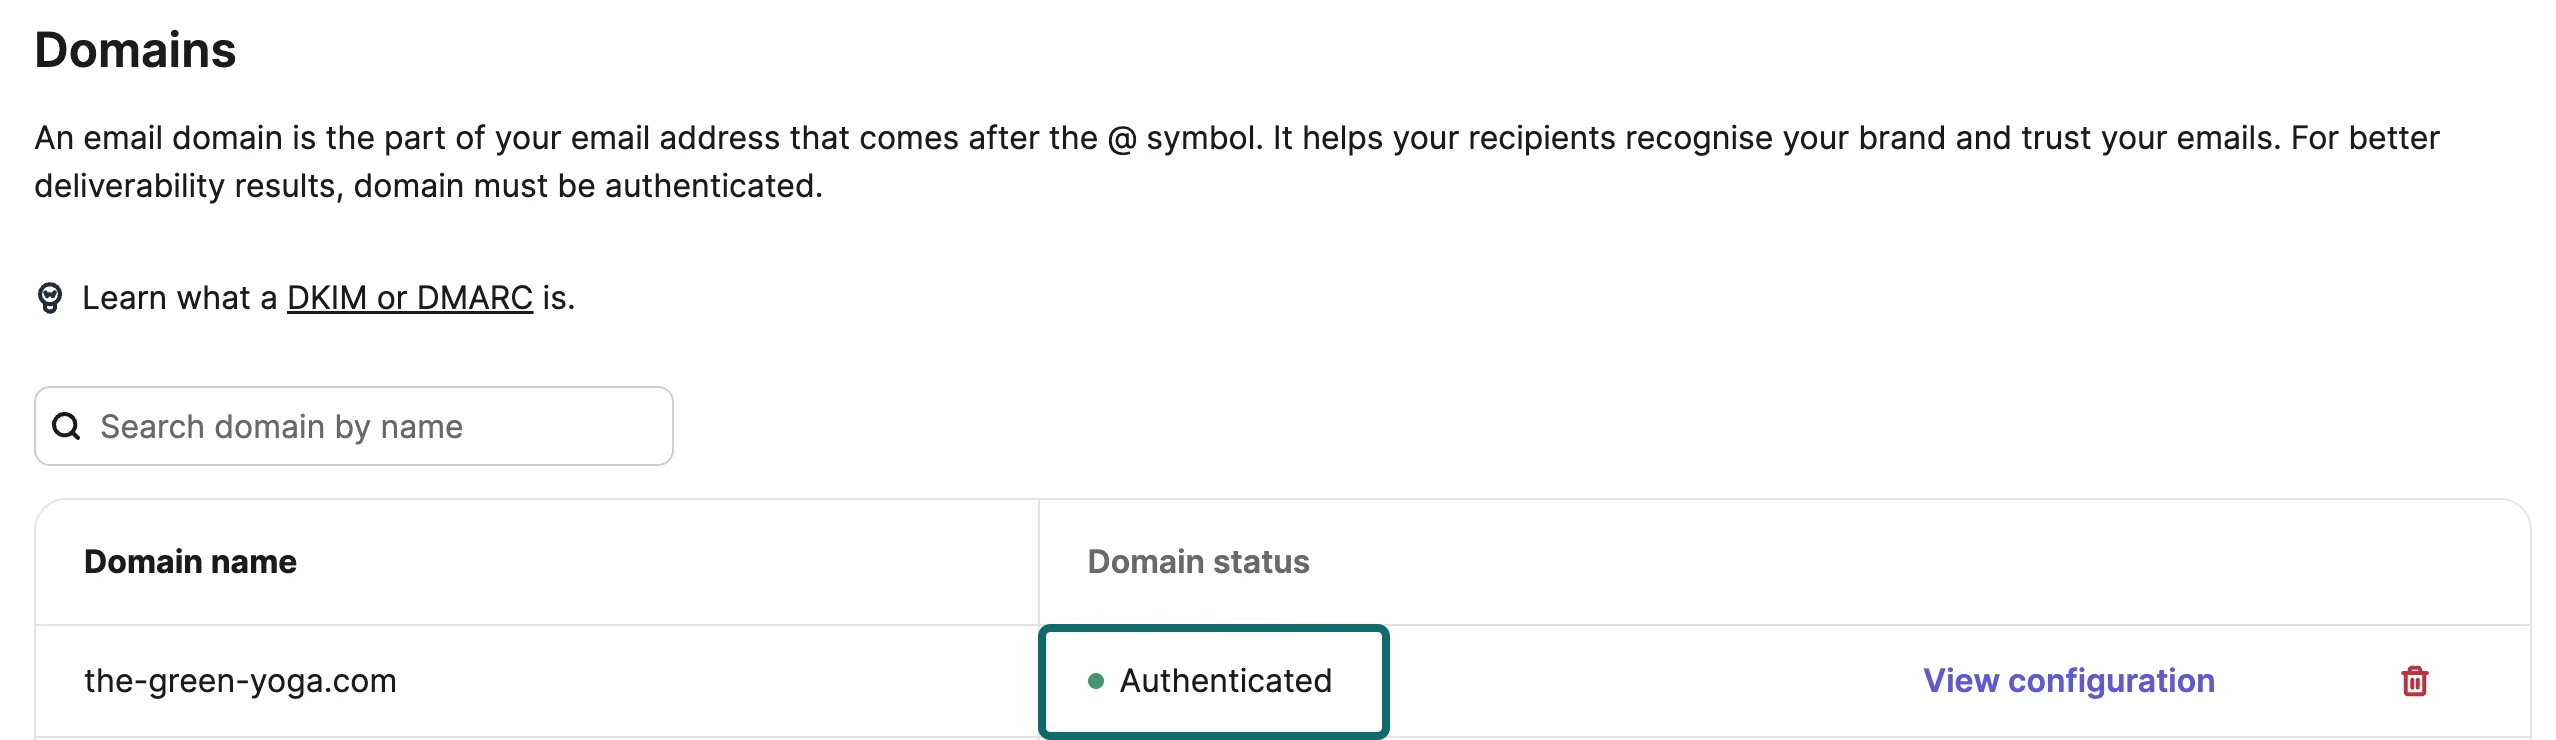
- Open Brevo’s domain authentication screen and add the sending domain.
- Copy each record exactly into the DNS provider that controls the domain’s nameservers.
- Do not create a second DMARC record. Merge policy needs carefully if one already exists.
- Wait for DNS propagation, then use Brevo’s authentication check again.
- Confirm the From domain used in Elementor matches the authenticated sending domain.
Success: The target state is a saved Elementor submission, an accepted event in the mail provider log, passing domain authentication, and delivery to more than one external mailbox.
7. Read the logs in the right order
A WordPress mail log and a provider event log answer different questions. Trace the same test message through both.
- Elementor Submissions: Did the form data reach WordPress?
- WordPress mailer log: Did WordPress build the notification and hand it to the configured service?
- Brevo or provider event log: Was the message accepted, deferred, bounced, blocked, or delivered?
- Recipient mailbox: Did it land in Inbox, Spam, Promotions, or an organization quarantine?
Interpret common statuses precisely:
| Status or error | What it means | Next action |
|---|---|---|
| Authentication failed | The SMTP login/key is wrong, revoked, or pasted into the wrong field | Create or copy the correct SMTP key and reconnect |
| Connection timed out | The host, firewall, port, or encryption route is blocking the connection | Verify port/encryption and ask the host about outbound SMTP |
| Sender not authorized | The From address/domain is not verified or permitted | Verify the sender and align Elementor’s From Email |
| Accepted or sent | The provider accepted the message for delivery | Check provider events, spam, quarantine, and recipient rules |
| Bounced | The receiving system rejected it after submission | Read the bounce reason; correct the address, policy, or reputation issue |
| No log entry | The form may never have called WordPress mail | Recheck Actions After Submit, Email action, and Elementor errors |
8. If the provider says delivered, check filtering
“Delivered” commonly means the recipient server accepted the message. It does not guarantee placement in the primary inbox. Check:
- Spam, Junk, Promotions, and Other folders.
- Microsoft 365 or Google Workspace admin quarantine.
- Mailbox rules that archive, forward, or delete messages.
- Blocked-sender lists and organization allowlists.
- Whether the To address is an alias, group, forwarding address, or full mailbox.
- Message content: remove URL shorteners, excessive links, oversized attachments, and spam-like test text.
Test a plain-text message to one Gmail address and one Outlook or Microsoft 365 address. Use the same authenticated From address. If one provider consistently filters the message, the provider log and authentication results are more useful than repeatedly submitting the form.
9. Fix server errors and invalid forms
If the form itself shows an error, SMTP may be a distraction. Elementor’s server error checklist recommends checking plugin conflicts, PHP/server logs, form field IDs, and hosting mail restrictions.
- Test integrations individually: Temporarily remove nonessential actions such as webhooks or CRM actions, then add them back one at a time.
- Check field mappings: An action can fail when it expects an email, list, or attribute that is empty or mapped to the wrong ID.
- Review security tools: A WAF, anti-spam plugin, or reCAPTCHA failure can block the submission before email is created.
- Purge caches: Clear page, server, and CDN caches after changing a form. Exclude the form page from aggressive JavaScript delay if submissions stop working.
- Test for conflicts: Use a staging copy or maintenance window to disable plugins methodically. Do not troubleshoot by making untracked changes on a live lead form.
- Read the server log: A PHP fatal error or blocked network request usually leaves a more useful clue than the front-end message.
If spam submissions are the original reason for changing the form, use the Elementor Atomic Form reCAPTCHA guide. Add protection after confirming a clean form can submit, so validation and delivery problems are not mixed together.
10. Configure admin and visitor emails separately
Use Email for the internal notification and Email 2 for the visitor’s confirmation. Treat them as two independent messages:
| Setting | Admin notification | Visitor confirmation |
|---|---|---|
| To | Your team mailbox | [field id="email"] |
| From Email | forms@yourdomain.com | forms@yourdomain.com |
| Reply-To | Visitor email field | Your support or sales mailbox |
| Subject | New enquiry: useful identifying detail | We received your message |
| Message | Submitted fields and page context | Short confirmation and realistic response time |
Do not include secrets or unnecessary personal data in either message. Elementor Submissions and mail logs can contain customer information, so limit access and set a retention policy appropriate for the business.
A repeatable verification checklist
- Collect Submissions is enabled and a new test entry is saved.
- Actions After Submit includes Email, and Email 2 only when needed.
- Every field has a unique, non-empty ID.
- The To address is valid and can receive external mail.
- From Email uses the verified website domain.
- The visitor email is in Reply-To, not From Email.
- Only one WordPress mailer is active.
- The test email works through the configured mailer.
- The real Elementor notification appears in the WordPress mail log.
- The provider event log shows accepted or delivered, not blocked or bounced.
- DKIM and DMARC show the expected authentication state.
- Tests reach at least two unrelated mailbox providers.
- Admin notification and visitor confirmation are tested separately.
- Spam, quarantine, forwarding, and mailbox rules have been checked.
For a business-critical form, repeat this test after DNS, hosting, caching, security, or form changes. A five-minute check is cheaper than discovering a silent failure after leads have been lost.
Frequently asked questions
Why does Elementor say success when no email arrives?
The success message can mean the form completed its front-end submission flow. Email delivery continues through WordPress, the configured mail service, DNS authentication, the recipient server, and mailbox filtering. A later stage can fail even when Elementor accepted the submission.
Does Elementor require SMTP?
Elementor can call WordPress mail without a separate SMTP plugin, but a properly authenticated transactional service is usually more reliable and much easier to diagnose. The key benefit is not the acronym; it is an authenticated route with usable logs.
Should the visitor’s email be the From Email?
No. Use an address on your authenticated domain as From Email and put the visitor’s field in Reply-To. Sending as a visitor’s Gmail or Outlook address creates an identity mismatch and can trigger rejection or spam filtering.
Can I use Brevo’s API key as the SMTP password?
Not in a generic SMTP connection. Brevo specifies an SMTP login and SMTP key for its relay. An integration that explicitly uses Brevo’s API will ask for an API key instead. Follow the connection type shown by the WordPress plugin.
Why are only some Elementor emails missing?
Compare the missing messages by recipient, From address, subject, size, and action. A broken Email 2 shortcode can affect confirmations only, while a recipient rule can affect one mailbox. Mail and provider logs reveal whether WordPress created each message.
The reliable fix is a chain, not a checkbox
An Elementor form notification is dependable only when every stage works: the form saves the lead, the Email action creates a valid message, WordPress uses one authenticated mail route, the sending domain aligns, and the recipient accepts the message. Work through that chain in order and keep one traceable test message. You will find the failure faster and avoid losing the submission while fixing the notification.
If the form is tied to revenue or customer support and the logs still do not reveal the cause, contact AbdullahWP or review the available WordPress and Elementor services for a focused diagnosis.